
I learned a lot about digital gardens from Joel Hooks and decided to build my own after watching this panel. The main reason I decided to make my own digital garden was the pressure I kept putting on myself to produce perfect polished content. Instead of creating more content and learning, I left my articles unpublished. If you want to read more about digital gardens and learn more about my reasoning check out my other post, "What is a digital garden?".
Why Gatsby?
Ever since I first learned Gatsby I enjoyed working with it and have made multiple personal websites. It worked great for me and I was able to set everything up pretty quickly. One fun thing that Gatsby utilizes is GraphQL. We can use Gatsby and GraphQL to create pages for our garden from Markdown files. Now I don't need to have a backend setup and when I want to create a new post, all I have to do is create a Markdown file in my content/posts folder. I don't think GraphQL knowledge is required for this but if you want to learn a bit more about my favorite technology check out this post, "What is GraphQL"!
I know Next.js is a popular option but personally it seemed to have too many bells and whistles for what I was doing. I also already knew Gatsby so no need to try and use a new technology. That being said, if you want to use Next feel free, but this post will be going through the Gatsby docs.
I'll be treating this post like a walkthrough so hopefully I explain everything well enough for you to follow along. With that being said here's a link to the github repo where you can find all the code written in this article. Also feel free to reach out to me on Twitter if you have any questions.
Part 1 Walkthrough
Following along with the Part 1 Gatsby tutorial, after installing all the necessary stuff, I'm going to run the gatsby new command.
Of course I didn't have the Gatsby CLI already installed so I needed to use sudo npm i -g gatsby-cli. We are off to a great start.
Following along the command prompt initiated by gatsby new
What would you like to call your site?
- digital garden What would you like to name the folder where your site will be created
- I hit enter which corresponds to "Coding_Projects/digital-garden" Will you be using a CMS?
- No (or I'll add it later) Would you like to install a styling system?
- No (or I'll add it later) Would you like to install additional features with other plugins?
- Use the arrow keys to navigate to "Add Markdown and MDX support", hit space to select, use the arrow keys to navigate to "Done" and then hit Enter Enter one more time to get finalize the creation!
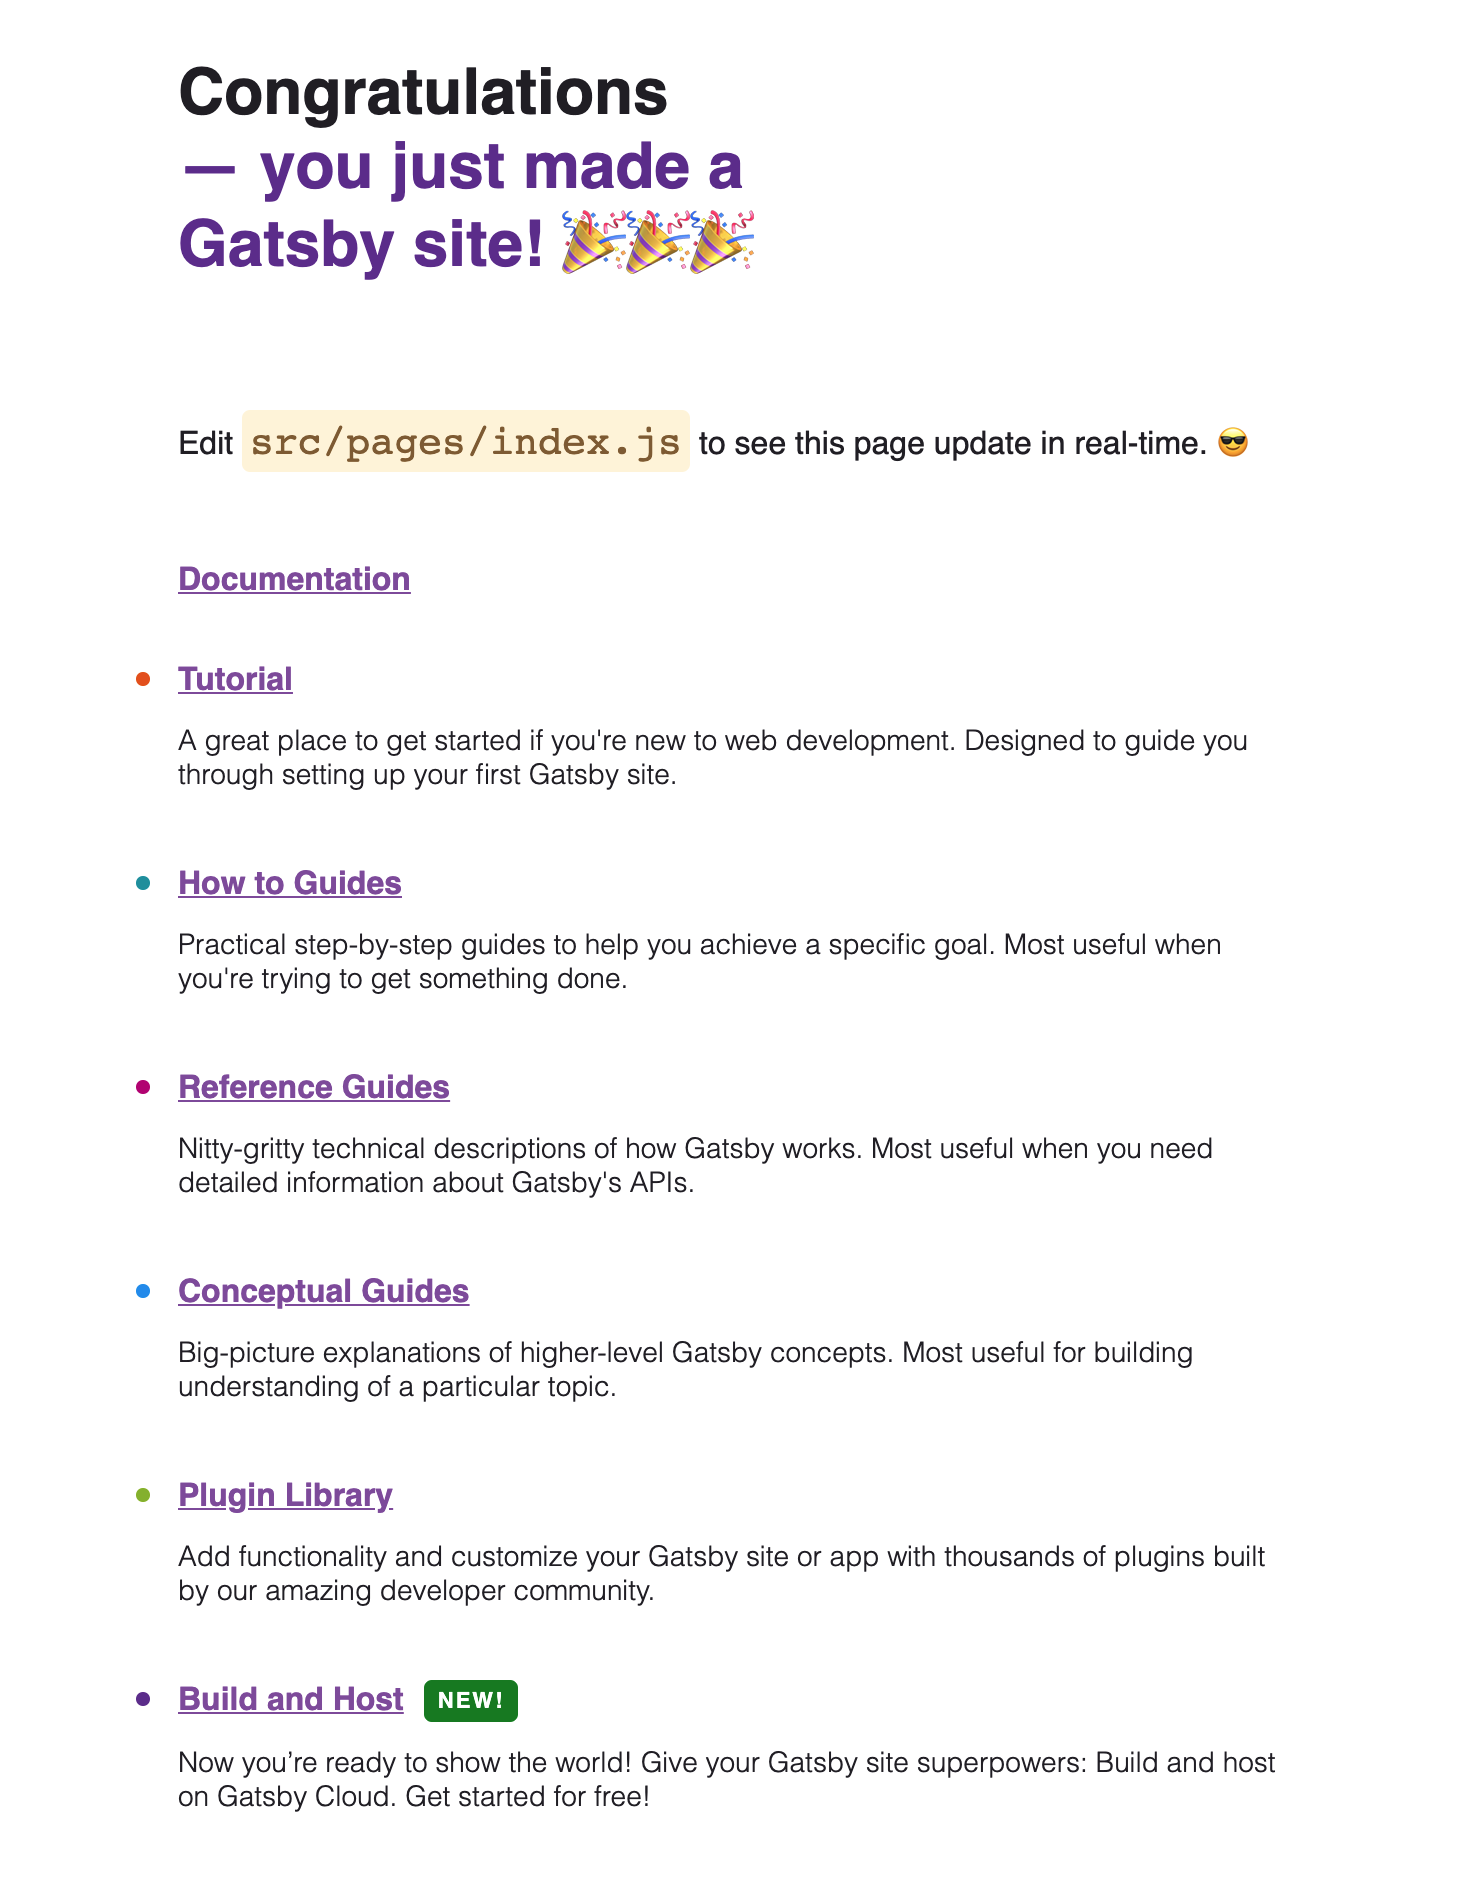
Hopefully if everything went well you, after you run npm start and open up localhost you should see something like this!
First thing I did was clean up a lot of this code that I didn't need.
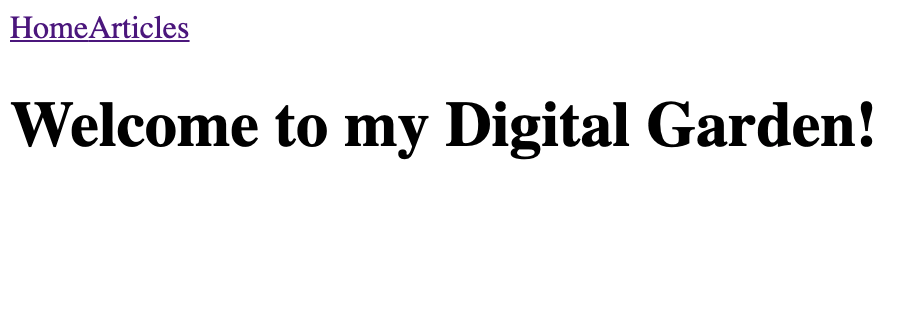
Now the code in index.js looks like:
import * as React from "react";const IndexPage = () => {return (<main><title>Digital Garden Starter</title><h1>Welcome to my Digital Garden!</h1></main>);};export default IndexPage;
Now we have a quick home page but what about creating other pages? We can create other pages quickly by creating a component inside the src/pages directory. So we'll create a new file src/pages/articles.js and Gatsby will automatically create a page at "/articles" that displays this component.
import * as React from "react";const ArticlesPage = () => {return (<main><title>Articles</title><h1>Feel free to peruse all the articles in my garden!</h1></main>);};export default ArticlesPage;
After saving this new page we can navigate to localhost:8000/articles and see our component! Because we have two pages now and want to have a light/dark mode toggle later we can just create a navigation bar now to easily switch between pages.
I like to keep my components organized so I'll create a src/components folder and then create the file for Navbar.js.
import * as React from "react";import { Link } from "gatsby";const Navbar = () => {return (<nav><Link to="/">Home</Link><Link to="/articles">Articles</Link></nav>);};export default Navbar;
The biggest thing to point out in our Navbar component is the Link component we are using from Gatsby. The Link component that Gatsby gives us is very similar to an <a>. The to prop is similar to the href attribute on <a> tags. But one of the benefits to using the Link component is that it gives us a performance boost. When one of these Link tags is in view the resources for that specific page are requested. Then when you navigate to that page it loads much faster than if the resources were requested on click.
Link components are used for linking between pages within your site. That's why they are perfect for the Navbar, but if I wanted to link to say MDN docs we would still want to use an <a> tag.
After we've built the Navbar component and imported it into index.js we should see a beautiful nav bar that lets us easily navigate to the articles page.
If we click the "Articles" link we should be routed to localhost:8000/articles.
Because we just imported the Navbar into our index.js and not our articles.js page we no longer see the Navbar. We could import the Navbar component into the articles page but this can quickly get tedious as we start to have more pages or more components that are repeated throughout pages like a footer.
So we'll create a custom Layout component that will be responsible for displaying components that are shared throughout multiple pages.
import * as React from "react";import Navbar from "./Navbar";const Layout = ({ pageTitle, children }) => {return (<div><title>{pageTitle}</title><Navbar /><main>{children}</main></div>);};export default Layout;
In the Layout component we can take advantage of the children props in order to wrap our pages. Now we can import this Layout component into our pages to see the Navbar on all the pages and any other repeat components we end up adding to Layout
import * as React from "react";import Layout from "../components/Layout";const ArticlesPage = () => {return (<Layout pageTitle="Articles"><h1>Feel free to peruse all the articles in my garden!</h1></Layout>);};export default ArticlesPage;
One of the great reasons of creating a digital garden with Gatsby is we can create all our content in Markdown and keep it in our local filesystem and access that data through GraphQL and gatsby plugins.
We can write GraphQL queries inside specific components to query data we want to use. When Gatsby builds the site, it will find all those GraphQL queries, run them, and pass that data into the the component.
We can create an articles folder at the top of the directory to hold our of the content we are going to create. To access these files we will need to use the Gatsby plugin, gatsby-source-filesystem
npm install gatsby-source-filesystem
plugins: [{resolve: "gatsby-source-filesystem",options: {name: "articles",path: `${__dirname}/articles`,},},],
Now we have the plugin and we've pointed it to the folder with all our content. Now we just need to write a GraphQL query to access the data.
query MyQuery {allFile {nodes {name}}}
Pulling data into page components is a bit different than pulling data into regular building block components like a Layout component. When we want to access GraphQL data in a page component we create a variable that holds the GraphQL query and then when Gatsby builds the site, it will run that query and pass the data into the page component as a prop called data
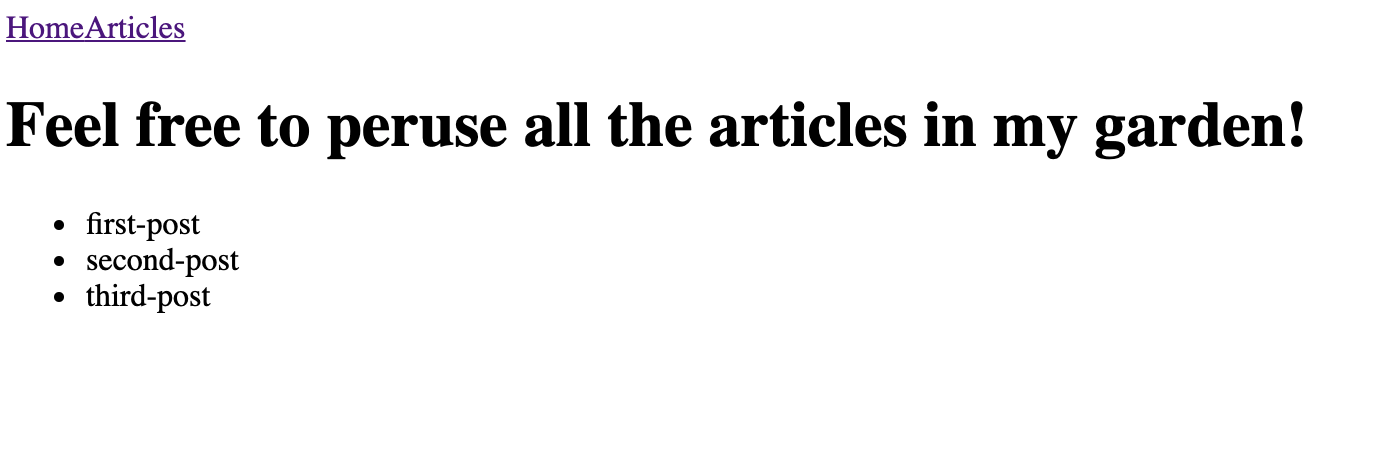
import * as React from "react";import Layout from "../components/Layout";import { graphql } from "gatsby";const ArticlesPage = ({ data }) => {console.log(data);return (<Layout pageTitle="Articles"><h1>Feel free to peruse all the articles in my garden!</h1><ul>{data.allFile.nodes.map((node) => (<li key={node.name}>{node.name}</li>))}</ul></Layout>);};export const query = graphql`query {allFile {nodes {name}}}`;export default ArticlesPage;
Note If you're following along with this article, make sure you restart your server. I ran into an error saying I couldn't .map() over undefined and I assume that's because there was no data because the GraphQL query is run on build.
The plugin gatsby-source-filesystem allows us to query the names of our files but it can't give us the content of those particular files. For that we will need another plugin called gatsby-plugin-mdx. Source plugins like gatsby-source-filesystem allow you to query data about the file, but not inside the file. For that we will need a transformer plugin.
In order to display the information inside our MDX articles we need to go through a couple of steps.
- Configure the
gatsby-plugin-mdx, similar to how we had to configure thegatsby-source-filesystem - Update the GraphQL query we added to
ArticlesPageto useallMdxinstead ofallFile - Use the
MDXRenderercomponent to display the content inside our MDX articles
When we started this projected we set up "Add Markdown and MDX support" option. So the first step is already all set up for us. If you missed that step you can: npm install gatsby-plugin-mdx @mdx-js/mdx @mdx-js/react and add gatsby-plugin-mdx to the plugins array in gatsby-config.js.
Now that we have the plugin set up we have access to allMdx and mdx fields in our GraphQL queries.
query MyQuery {allMdx(sort: {fields: frontmatter___date, order: DESC}) {nodes {frontmatter {date(formatString: "MMMM D, YYYY")title}idbody}}}
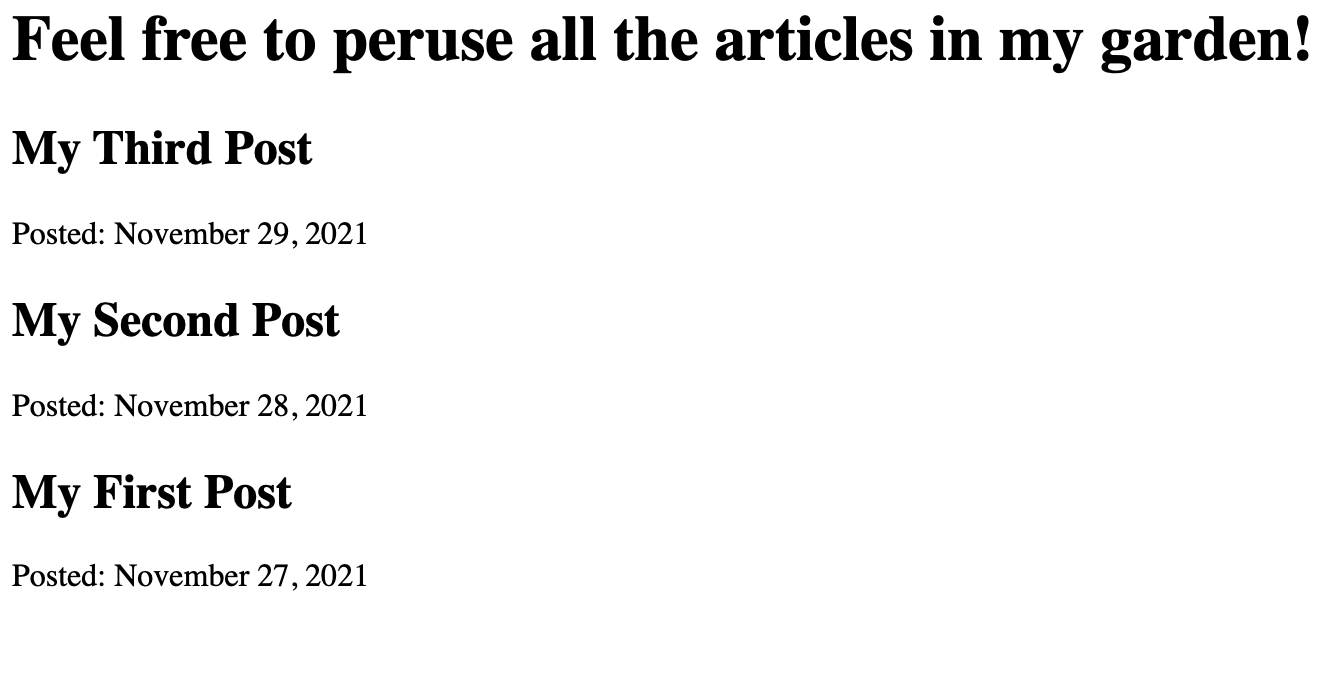
Above you'll see the new query that we want to run. Instead of allFile we will use the allMdx field to access properties that are inside our mdx files. Like in most blogs we will sort the artiles based on the most recent one. We can do that with the sort function and accessing the date we set in the frontmatter of the articles. The nodes field is used to get each mdx post and from there we can return the data we want. Like all the information in the frontmatter, the id of the article that we will use for things like keys, and the body of the post that we will pass to MDXRenderer to display the content.
<Layout pageTitle="Articles"><h1>Feel free to peruse all the articles in my garden!</h1>{data.allMdx.nodes.map((node) => (<article key={node.id}><h2>{node.frontmatter.title}</h2><p>Posted: {node.frontmatter.date}</p></article>))}</Layout>
Because we changed the graphql query to use allMdx we will want to update what we are returning in ArticlesPage. We can now utilize all that new data to display more information than just the file name we were displaying before.
Now we just need to display the actual content that's inside the mdx files with MDXRenderer.
const ArticlesPage = ({ data }) => {return (<Layout pageTitle="Articles"><h1>Feel free to peruse all the articles in my garden!</h1>{data.allMdx.nodes.map((node) => (<article key={node.id}><h2>{node.frontmatter.title}</h2><p>Posted: {node.frontmatter.date}</p><MDXRenderer>{node.body}</MDXRenderer></article>))}</Layout>);};
Once we add <MDXRenderer>{node.body}</MDXRenderer> we should see the content of our articles! We have all our articles and all their content displayed on one page and while this is okay, it can quickly grow messy.
One thing we can do is dynamically create an individual page for each of our articles. We can use one page component to create multiple pages. We will utilize Gatsby's File System Route API, which lets us "create routes dynamically by naming your page files with special syntax".
This template file will live in src/pages/{mdx.slug}.js. The curly braces are important and indicate the dynamic portion of the route! When determining the naming structure we want to think about what type of node to create pages from and which field from that node should we use as the URL. We haven't used this field yet but within the allMDX query there's a field called slug. This slug field gives us a nice URL and corresponds to the file name of our posts. I called one of the files first-post.mdx, so the corresponding URL will be /first-post.
Inside our template page:
import * as React from 'react'import Layout from '../components/layout'const BlogPost = () => {return (<Layout pageTitle="Super Cool Blog Posts"><p>My blog post contents will go here (eventually).</p></Layout>)}export default BlogPost
Right now we will hard code everything but eventually all this information will be dynamic and specific to the current article page you're on. But if you go to /first-post you should see our page template!
Alright time to add that dynamic information to the template. For this we will use another GraphQL query to query article information through their specific ids.
query MyQuery($id: String) {mdx(id: {eq: $id}) {frontmatter {titledate(formatString: "MMMM D, YYYY")}body}}
Once we add this query to our template file we can display the data similar to what we did in the ArticlesPage. Here's what the {mdx.slug}.js component should look like:
import * as React from "react";import Layout from "../../components/layout";import { graphql } from "gatsby";import { MDXRenderer } from "gatsby-plugin-mdx";const Article = ({ data }) => {return (<Layout pageTitle={data.mdx.frontmatter.title}><p>{data.mdx.frontmatter.date}</p><MDXRenderer>{data.mdx.body}</MDXRenderer></Layout>);};export const query = graphql`query ($id: String) {mdx(id: { eq: $id }) {frontmatter {titledate(formatString: "MMMM D, YYYY")}body}}`;export default Article;
Because we are displaying the information of the article in the specific route we don't need to display everything in the /articles route anymore. This page should instead be responsible for showing the names of all the articles and linking to those specific article pages.
import * as React from "react";import Layout from "../../components/Layout";import { graphql, Link } from "gatsby";const ArticlesPage = ({ data }) => {return (<Layout pageTitle="Articles"><h1>Feel free to peruse all the articles in my garden!</h1>{data.allMdx.nodes.map((node) => (<article key={node.id}><h2><Link to={`/articles/${node.slug}`}>{node.frontmatter.title}</Link></h2><p>Posted: {node.frontmatter.date}</p></article>))}</Layout>);};export const query = graphql`query {allMdx(sort: { fields: frontmatter___date, order: DESC }) {nodes {frontmatter {date(formatString: "MMMM D, YYYY")title}idslug}}}`;export default ArticlesPage;
Since we aren't going to display the content of the article on this page we can remove MDXRenderer, as well as replace body with slug in our GraphQL query. Similar to the Navbar we can use Gatsby's Link component to link to pages that are within our site, like articles.